Configuring Cloud Storage for Flow
New Flow accounts are connected to Flow's secure cloud storage bucket to store collection data. To switch to your own bucket, choose a cloud provider and complete the setup steps:
Once you're done, add the bucket in Estuary.
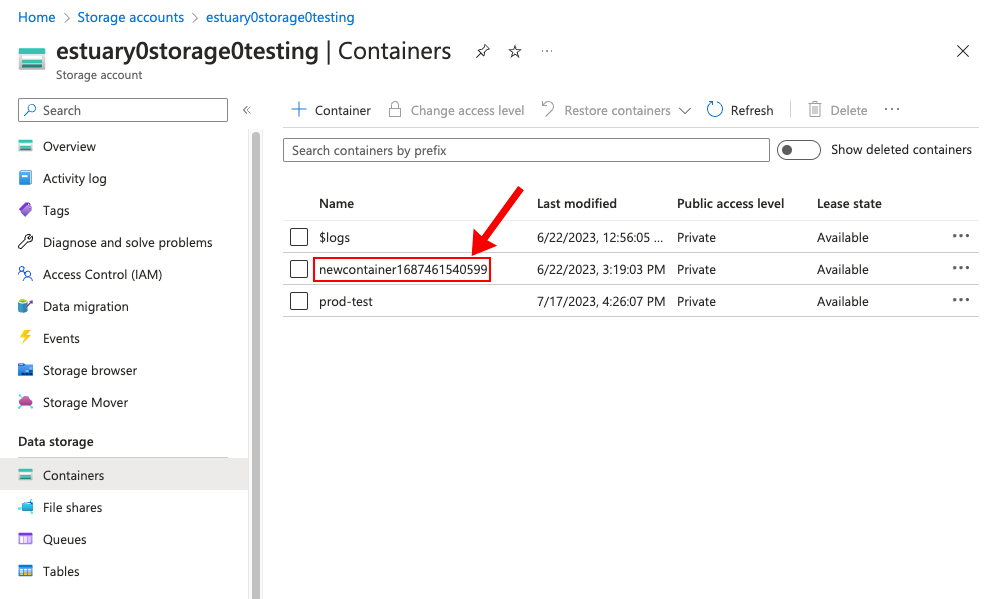
Once your collections begin to persist data, you can view your storage bucket to confirm that the bucket is receiving data as expected. This should indicate that your bucket has been set up correctly.
Google Cloud Storage buckets
You'll need to grant Estuary Flow access to your GCS bucket.
-
Create a bucket to use with Flow, if you haven't already.
-
Follow the steps to add a principal to a bucket level policy. As you do so:
- US Data Plane
- EU Data Plane
-
For the principal, enter
flow-258@helpful-kingdom-273219.iam.gserviceaccount.com -
Select the
roles/storage.adminrole.
-
For the principal, enter
data-plane-48vsfi8i91j6c1ns@helpful-kingdom-273219.iam.gserviceaccount.com -
Select the
roles/storage.adminrole.
You can also find the correct principal in the Data Planes section on your Settings page in the Estuary dashboard.
Amazon S3 buckets
You'll need to grant Estuary Flow access to your S3 bucket.
-
Create a bucket to use with Flow, if you haven't already.
-
Follow the steps to add a bucket policy, pasting in one of the policies below. Be sure to replace
YOUR-S3-BUCKETwith the actual name of your bucket.
- US Data Plane policy
- EU Data Plane policy
{
  "Version": "2012-10-17",
  "Statement": [
    {
      "Sid": "AllowUsersToAccessObjectsUnderPrefix",
      "Effect": "Allow",
      "Principal": {
        "AWS": "arn:aws:iam::789740162118:user/flow-aws"
      },
      "Action": [
        "s3:GetObject",
        "s3:PutObject",
        "s3:DeleteObject"
      ],
      "Resource": "arn:aws:s3:::YOUR-S3-BUCKET/*"
    },
    {
      "Effect": "Allow",
      "Principal": {
        "AWS": "arn:aws:iam::789740162118:user/flow-aws"
      },
      "Action": "s3:ListBucket",
      "Resource": "arn:aws:s3:::YOUR-S3-BUCKET"
    },
    {
      "Effect": "Allow",
      "Principal": {
        "AWS": "arn:aws:iam::789740162118:user/flow-aws"
      },
      "Action": "s3:GetBucketPolicy",
      "Resource": "arn:aws:s3:::YOUR-S3-BUCKET"
    }
  ]
}
{
  "Version": "2012-10-17",
  "Statement": [
    {
      "Sid": "AllowUsersToAccessObjectsUnderPrefix",
      "Effect": "Allow",
      "Principal": {
        "AWS": [
          "arn:aws:iam::770785070253:user/data-planes/data-plane-342o84ecos0opkov",
          "arn:aws:iam::789740162118:user/flow-aws"
        ]
      },
      "Action": [
        "s3:GetObject",
        "s3:PutObject",
        "s3:DeleteObject"
      ],
      "Resource": "arn:aws:s3:::YOUR-S3-BUCKET/*"
    },
    {
      "Effect": "Allow",
      "Principal": {
        "AWS": [
          "arn:aws:iam::770785070253:user/data-planes/data-plane-342o84ecos0opkov",
          "arn:aws:iam::789740162118:user/flow-aws"
        ]
      },
      "Action": "s3:ListBucket",
      "Resource": "arn:aws:s3:::YOUR-S3-BUCKET"
    },
    {
      "Effect": "Allow",
      "Principal": {
        "AWS": [
          "arn:aws:iam::770785070253:user/data-planes/data-plane-342o84ecos0opkov",
          "arn:aws:iam::789740162118:user/flow-aws"
        ]
      },
      "Action": "s3:GetBucketPolicy",
      "Resource": "arn:aws:s3:::YOUR-S3-BUCKET"
    }
  ]
}
Azure Blob Storage
You'll need to grant Estuary Flow access to your storage account and container. You'll also need to provide some identifying information.
-
Create an Azure Blob Storage container to use with Flow, if you haven't already.
-
Gather the following information. You'll need this when you contact us to complete setup.
-
Your Azure AD tenant ID. You can find this in the Azure Active Directory page.

-
Your Azure Blob Storage account ID. You can find this in the Storage Accounts page.

-
Your Azure Blob Storage container ID. You can find this inside your storage account.

You'll grant Flow access to your storage resources by connecting to Estuary's Azure application.
-
-
Add Estuary's Azure application to your tenant.
- US Data Plane
- EU Data Plane
If you're having trouble using the input field above, you may also modify this OAuth link with your Azure tenant ID and paste it directly into your browser:
https://login.microsoftonline.com/<YOUR_AZURE_TENANT>/oauth2/authorize?client_id=42cb0c6c-dab0-411f-9c21-16d5a2b1b025&response_type=code&redirect_uri=https%3A%2F%2Feyrcnmuzzyriypdajwdk.supabase.co%2Ffunctions%2Fv1%2Fazure-dpc-oauth&resource_id=https://storage.azure.com
Add the Estuary EU Application to your Azure tenant using the following link: Add Azure Application To Your Tenant
If you are signed in to multiple Azure tenants, and the above link takes you to the incorrect tenant, you can manually replace 'common' with the desired azure tenant ID in the link:
https://login.microsoftonline.com/common/oauth2/authorize?client_id=24bedcf9-4b7b-4417-b91b-6cc126b57e20&response_type=code&redirect_uri=https%3A%2F%2Festuary.dev%2F&resource_id=https%3A%2F%2Fstorage.azure.com
-
Grant the application access to your storage account via the
Storage Blob Data OwnerIAM role.-
Inside your storage account's Access Control (IAM) tab, click Add Role Assignment.
-
Search for
Storage Blob Data Ownerand select it. -
On the next page, make sure
User, group, or service principalis selected, then click + Select Members. -
You must search for the exact name of the application, otherwise it won't show up.
- US Data Plane:
Estuary Storage Mappings Prod - EU Data Plane:
data-plane-aws-eu-west-1-c1.dp.estuary-data.com
- US Data Plane:
-
Once you've selected the application, finish granting the role.
For more help, see the Azure docs.
-
Add the Bucket
If your bucket is for Google Cloud Storage or AWS S3, you can add it yourself. Once you've finished the above steps, head to "Admin", "Settings" then "Configure Cloud Storage" and enter the relevant information there and we'll start to use your bucket for all data going forward.
If your bucket is for Azure, send support@estuary.dev an email with the name of the storage bucket and any other information you gathered per the steps above. Let us know whether you want to use this storage bucket to for your whole Flow account, or just a specific prefix. We'll be in touch when it's done!
Migrating your existing data to the new storage mapping
Once you've created your new storage mapping, your collections will be updated to pick up the new storage mapping, so new data will be written there. Existing data from your previous storage mapping is not automatically migrated, to do so you should backfill all of your captures after configuring a storage mapping. Most tenants will have been using the estuary-public storage mapping on the Free plan to begin with, which expires data after 20 days. By backfilling all of your captures you guarantee that even though the data from estuary-public will expire, you’ll still have a full view of your data available on your new storage mapping.